KAN-therm Steel is a complete installation system based on high-quality carbon steel pipes and fittings, protected against corrosion by a layer of zinc. It combines the advantages of traditional materials with the speed and simplicity of modern installation solutions. After the installation work is completed, the KAN-therm Steel system must undergo leak testing according to strictly defined procedures. We explain how to conduct such a test step by step.
Check steel installations at Onninen warehouse
KAN-therm Steel – modern steel installations with simple "press" assembly
The KAN-therm Steel system is a ready-made, complete set of precisely matched galvanized carbon steel pipes and fittings. It allows for the construction of reliable and aesthetic steel installations for heating (closed) and industrial applications, resistant to extreme temperatures (from -35°C to 135°C) and high pressures (up to 25 bars) as well as mechanical damage. The installation is based on the "press" technique, which involves crimping the fittings onto the pipe. Although crimped steel systems are generally quick, simple, and safe to install, it is worth noting that the installation time for the KAN-therm Steel system is the shortest among all available installation techniques on the market! Moreover, the contractor can easily identify uncrimped connections thanks to a special signaling system. EPDM o-ring seals and a three-point "M" type clamping system guarantee perfect sealing of connections, which translates into long-term, trouble-free operation of the installation.
Due to its unique properties and a wide range of available diameters, the KAN-therm Steel system is used in the construction of:
- technological heat installations,
- solar installations,
- chilled water installations,
- installations transporting compressed air,
- gas installations (inert gases).
By replacing standard EPDM o-rings with FPM Viton seals, an installation made from KAN-therm Steel pipes and fittings can operate at temperatures up to 200°C or transport heating oils.
Leak testing of the KAN-therm Steel installation – step-by-step instructions
As mentioned at the beginning, after the installation work is completed, but before pouring the screed into the pipes and covering the grooves and channels, each KAN therm installation must be flushed and subjected to a pressure test. The recommended solution is a water test. If it is not possible to conduct a leak test with water, for example, due to low temperatures, compressed air should be used. Similarly, in the case of emptying the KAN-therm Steel installation after a pressure test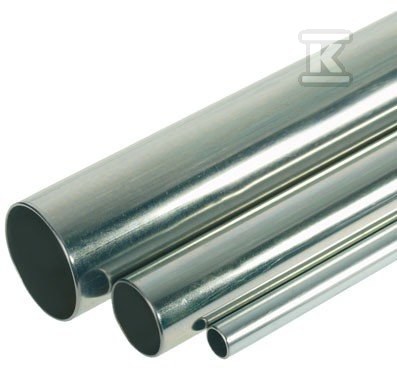 the air used for the test must not contain oils or moisture.
Leak test of the KAN therm Steel installation step by step:
- Familiarize yourself with the required test pressure values and detailed conditions for conducting the tests. This information can be found in the materials provided by the manufacturer.
- Disconnect any fittings and devices that could interfere with the test or be damaged.
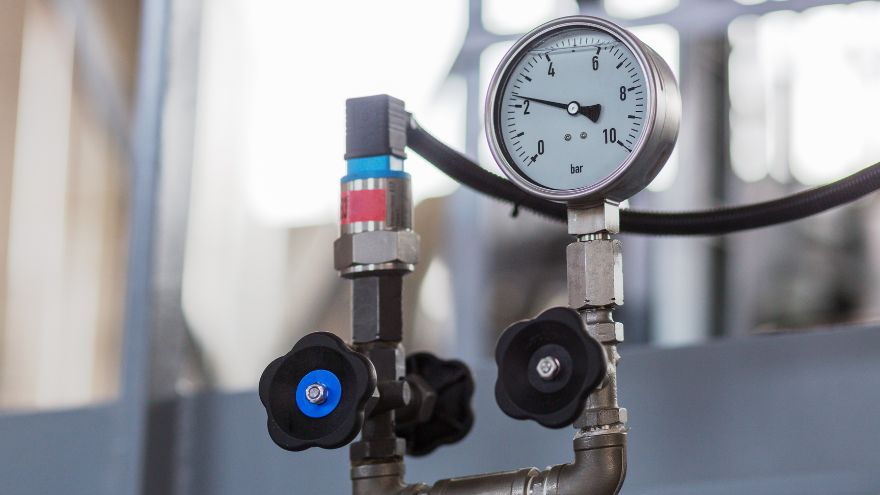
- At the lowest point of the installation, install a dial pressure gauge with a range greater by 50% than the test pressure and a basic scale of 0.1 bar.
- Thoroughly flush the installation using treated water or the medium to be transported. Replace the installation fluid at least once.
- Fill the installation with the medium (e.g., cold water) and bleed it.
- Stabilize the water temperature in relation to the ambient temperature.
- Conduct a preliminary test at reduced pressure. You can skip this if the LBP function is not used in the system. The preliminary test pressure should be in the range of 1.0-4.0 bars for treated water or 1.5-2.0 bars for compressed air. The duration of the preliminary test should allow for a visual assessment of all connections. The absence of condensation and leaks allows you to proceed to the next step.
- Conduct the main test at the test pressure Ppr. It should last for 30 minutes. The absence of condensation, leaks, and pressure drop, based on the control gauge reading, concludes the leak test with a positive result.
- If you tested a heating installation or domestic hot water, now perform a hot test (with hot water).
- Prepare a protocol (form) containing: the value of the test pressure, the course of the test according to the procedure, the values of pressure drops, and the test result (positive/negative).
- In case of detecting leaks and problems with locating or eliminating them, contact the KAN Technical Department as soon as possible. Remember that the use of foaming liquid is only possible after such consultation.
Done!
FAQ
1. Why should the leak test of the KAN-therm Steel installation be conducted?
The leak test, conducted according to the procedure described by the manufacturer, allows you to check whether the installation has been properly assembled and is leak-proof. This is a condition for long-term, trouble-free operation of the system.
2. What media can be used for the leak test of the KAN-therm Steel installation?
A water test using treated water is recommended, and when this is not possible (e.g., at low temperatures), compressed air free of oils and moisture can be used.
3. When should the leak test of the KAN-therm Steel installation be conducted?
The leak test is performed after the installation work is completed, but before pouring the screed into the pipes and covering the grooves and channels.