At Onninen, we know that proper connection of pre-insulated pipes determines the long-term, trouble-free operation of the entire heating network. Our many years of experience in distributing installation solutions show that most operational problems occur precisely at the joints. That’s why we have prepared a comprehensive guide that will take you step by step through the process of connecting pre-insulated pipes according to the best industry practices.
Connecting pre-insulated pipes is much more than just welding steel pipes. It is a comprehensive process that includes preparing materials, precise welding, and securely insulating joints using specialized pre-insulated heating pipes and installation accessories. Each stage requires appropriate technical knowledge and adherence to rigorous quality standards.
In our assortment, you will find a complete system of heating networks and connections along with all the necessary elements for professional installation. We also offer full technical support from our specialists who will help you choose optimal solutions for your specific installation.

Check pre-insulated heating pipes at Onninen warehouse
Preparation for Installation – Foundations of Quality
Professional connection of pre-insulated pipes begins long before the first welding spark. As experienced suppliers of heating solutions, we emphasize that proper preparation constitutes 50% of the success of the entire undertaking.
Quality Control of Delivered Material
Before starting work, carefully check all elements. The pre-insulated pipes from our offer are delivered with protective caps on the ends of the pipe. Do not remove them until you are ready to start welding. The HDPE protective jacket must not show any mechanical damage, and the PUR insulation must be dry and undamaged.
Preparation of Excavations and Ground
Lay the pipes on a sand bed at least 10 cm thick, or on wooden supports measuring approximately 10×15 cm. Wooden supports should be spaced no more than 2 meters apart. In welding areas, create installation pits that allow free access to the joint area.
Proper Storage of Installation Elements
Heat-shrink sleeves, couplings, and other heat-shrink elements should be stored in dry storage rooms. Sleeves should be stored in an upright position to prevent deformation. Containers with PUR foam should be stored at a temperature of 15-30°C, protecting them from direct sunlight.
Welding Techniques – The Heart of the Connection Process
In installation practice, we use proven welding methods that guarantee durable and tight connections. Our experience indicates that choosing the right welding technique is crucial for the quality of the entire installation.
TIG Welding – Quality Standard
For pipes with a wall thickness of up to 5 mm, we recommend TIG welding with a non-consumable tungsten electrode in 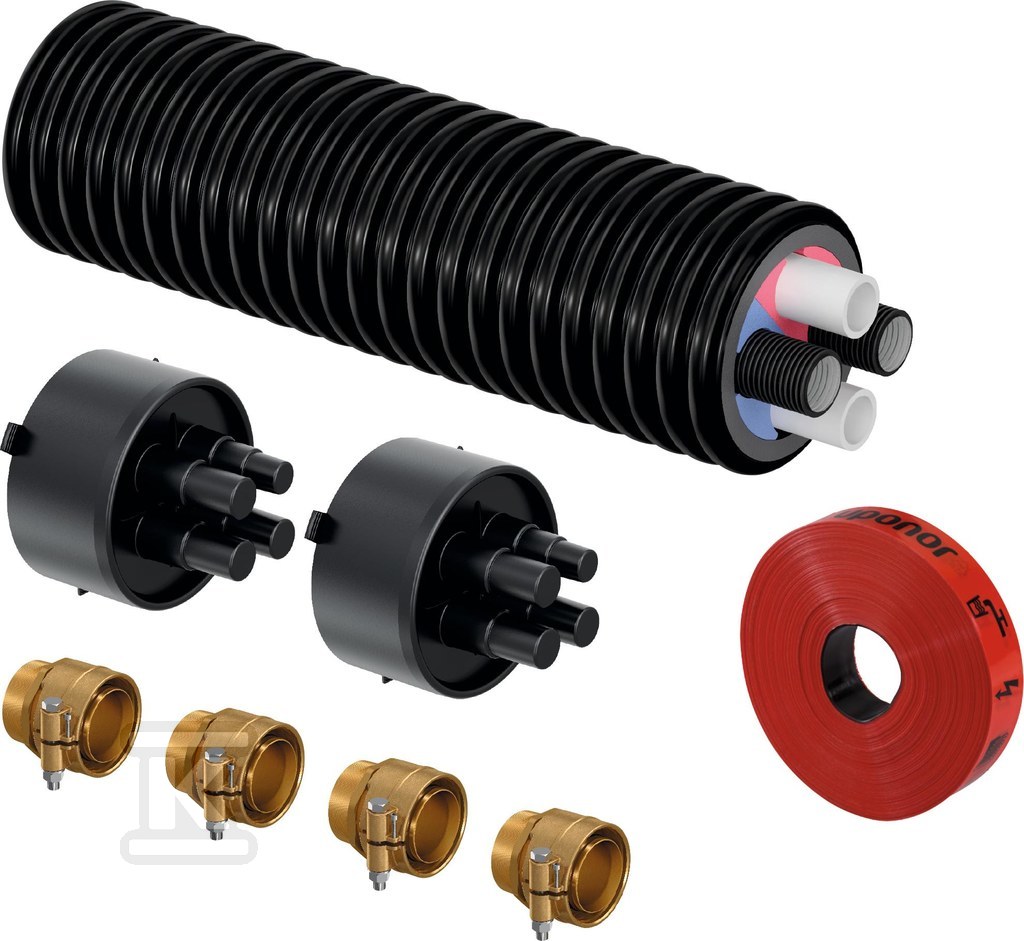 argon atmosphere. We perform welding in two or three layers using a 2 mm wire of grade SG1 or SG2. This method ensures the highest quality of welds and full control of the process.
Shielded Metal Arc Welding – For Greater Thicknesses
For greater wall thicknesses (over 5 mm), we use a mixed method: the root pass is performed using TIG, while the groove filling is done with shielded metal arc welding using electrodes EB1.46 or ER3.46. This approach combines the precision of the TIG method with the efficiency of electrode welding.
Weather Conditions for Welding
Welding work can only be performed in dry weather at ambient temperatures above 5°C and wind speeds not exceeding 5 m/s (10 m/s for shielded arc welding). In difficult weather conditions, it is necessary to use a heated protective tent.
| Ambient Temperature | Required Actions | Additional Protections |
|---|---|---|
| Above 5°C | Standard welding procedures | Wind protection |
| 0°C to 5°C | Pre-heating of welded ends | Protective tent recommended |
| Below 0°C to -5°C | Mandatory heating and heated tent | Humidity control |
| Below -5°C | Welding prohibited | Work interruption |
Preparing Pipe Ends for Welding
Precise preparation of pipe ends determines the quality of the entire connection. In our practice, we use proven procedures that eliminate the most common installation errors.
Cutting and Beveling Pipes
Pipes can be shortened, but to sections no shorter than 1 meter. Mark the cutting point on the pipe and measure 16 cm in both directions. Cut the HDPE jacket at an angle to avoid damaging the insulation on the further section. After cutting, gently expose the monitoring wires, cut them, and bend them to the sides.
Cleaning the Welding Surface
Thoroughly remove any remaining PUR foam from the steel surface of the pipe. The surface must be brushed, as burning foam during welding is harmful to health and can affect the quality of the weld. The ends of the pipes should be beveled according to the PN-ISO 676 standard for pipes with a wall thickness greater than 3.2 mm.
Aligning Pipes for Welding
Align the pipes coaxially with a gap of 1.5-2 mm between the welded ends. Before the main welding, make tack welds along a length of up to 25% of the circumference. The maximum change in direction at the joint of steel pipes must not exceed 3°.
Insulating Joints – The Key to Durability
After completing the steel weld, it is necessary to restore the continuity of insulation at the joint. In our assortment, we offer a complete system of heat-shrink sleeves and installation accessories from renowned manufacturers.
Heat-Shrink Sleeves – Types and Applications
We mainly use heat-shrink sleeves made of cross-linked high-density polyethylene. Such sleeves are characterized by high shrink force and excellent shape replication of the protective jacket. They are available in three basic types:
- Straight sleeves – for connecting straight sections of pipelines
- Socket sleeves – for connections with level differences or slight deviations
- Reducing sleeves – for connecting pipes of different outer diameters
Heat-Shrink Sleeve Installation Process
Before welding, place the sleeve on one of the connected sections. After completing the welding and quality control of the joint, clean the installation area of dirt and degrease the surface of the protective pipe. Heat the sleeve evenly using a gas torch with an adjustable flame until it fully shrinks onto the pipe.
Filling with PUR Foam
Fill the space between the sleeve and the pipe with polyurethane foam. For a diameter of DN 100, manual foaming is allowed; diameters above DN 100 require the use of a foaming machine. After completing the foaming, wait about 30 minutes for the foam bonding reaction to finish.
Quality Control and Acceptance of Connections
Each welded connection requires appropriate quality control according to the PN-EN 489 standard. As suppliers of professional installation solutions, we emphasize the importance of this stage for ensuring long-term trouble-free operation of the installation.
Radiographic Testing of Welds
Welds must undergo radiographic inspection, especially for pipes with larger diameters and high-pressure installations. The scope of radiographic inspection should be agreed upon with the designer or investor. The required quality of welds is at least class B according to PN-EN ISO 5817.
Pressure Testing of the Installation
Before backfilling the excavations, perform a pressure test of the entire installation. The test pressure should be 1.5 times the working pressure, maintained for a minimum of 2 hours. The allowable pressure drop must not exceed the values specified in technical standards.
Acceptance Documentation
Each welded connection should be documented in an acceptance protocol, including the welder's data, the electrodes used, welding conditions, and inspection results. This documentation is essential for obtaining the manufacturer's warranty for the pre-insulated system.
Frequently Asked Questions
1. What are the most common mistakes when connecting pre-insulated pipes?
The most common mistakes are improper preparation of pipe ends, welding in poor weather conditions, and inadequate insulation of joints. Other issues include too shallow bevels, insufficient cleaning of the welding surface, failure to maintain coaxiality of the pipes, and rushing during the installation of heat-shrink sleeves. In our experience, the biggest problem also lies in skipping the quality control stage of the welds.
2. At what temperature can welding of pre-insulated pipes be performed?
Welding can be performed at ambient temperatures above 5°C in dry weather. At temperatures from 0°C to 5°C, pre-heating of the welded ends is required. The lowest allowable temperature is -5°C, but then it is necessary to use a heated protective tent. Wind speed must not exceed 5 m/s (10 m/s for shielded electrodes).
3. How long does the heat-shrinking process of a heat-shrink sleeve take?
The time for shrinking a sleeve depends on its diameter and ranges from 5 to 15 minutes. Smaller sleeves (up to DN 100) shrink faster, while larger ones require more time for even heating. It is crucial to evenly heat the entire circumference of the sleeve with a gas torch. After shrinking, wait another 10-15 minutes for temperature stabilization before proceeding with further installation activities.
4. Can pre-insulated pipes from different manufacturers be connected?
Technically, it is possible to connect pipes from different manufacturers, but it is not recommended for warranty and quality reasons. Each pre-insulated system has its specific parameters, types of sleeves, and installation procedures. Mixing systems can lead to problems with obtaining the manufacturer's warranty and poorer quality connections. We always recommend using a complete system from one manufacturer along with dedicated accessories.
5. When is radiographic inspection of welds necessary?
Radiographic inspection is mandatory for pipes with a diameter above DN 100 and all high-pressure installations. The scope of testing is determined by the installation designer or investor. In practice, we check 100% of welds in main installations and a minimum of 10% in distribution networks. Testing is performed by a certified unit according to the PN-EN ISO 5817 standard, requiring at least quality class B.
6. How to prepare pipe ends for welding?
The ends of the pipes should be cleaned of PUR foam, brushed, beveled, and aligned coaxially with a gap of 1.5-2 mm. First, remove the HDPE jacket for a length of 16 cm from the cutting point, then gently move the alarm wires aside and thoroughly remove the PUR insulation. Brush the steel surface with a wire brush, removing any dirt, oils, and rust. Pipes with a wall thickness greater than 3.2 mm require beveling according to PN-ISO 676.
7. How much does professional connection of pre-insulated pipes cost?
The cost of connection depends on the diameter of the pipes, the number of connections, and the complexity of the installation. The price should include: the welder's labor, consumables (electrodes, shielding gas), heat-shrink sleeves, PUR foam, and inspection tests. You can obtain an exact quote by contacting our specialists, who will analyze the specifics of your project and propose optimal pricing solutions.
Professional Solutions for Demanding Projects
Connecting pre-insulated pipes is an investment in the long-term reliability of the heating system. Using proven installation technologies and high-quality materials translates into low operating costs and reliable operation of the installation for decades.
We offer comprehensive technical support at every stage of project implementation - from selecting the right materials, through installation instructions, to post-warranty service. Our specialists have many years of experience in implementing heating projects of various scales and complexities.
In Onninen's assortment, you will find all the elements necessary for professional installation: pre-insulated pipes from renowned manufacturers, high-quality heat-shrink sleeves, PUR foam, and a full range of tools and installation accessories. We invite you to contact our experts who will assist you in executing the most demanding installation projects.