LED lighting strips are an elegant form of interior decoration, which, in combination with LED strips, provides an additional source of light. They are a unique and stylish way to decorate the bathroom space and create atmospheric lighting. LED lighting is currently very popular on the Polish market. An aluminum profile or another LED profile can be used to mount the LED strip.

Check out the LED strips at the Onninen wholesaler
What types of LED strips are there?
 LED strips are products that have gained huge popularity in recent years. They can be used not only in home bathrooms, but also outdoors and in public buildings and shopping malls. LEDs are currently easily available and are an economical source of light in terms of electricity consumption. What's more, they are easy to install, which allows them to be used in almost any room.
LED strips are often used as lighting for tiles, shelves, furniture or ceilings. They can be glued directly to surfaces, mounted in profiles and connected to each other. LED strips come in various types, which differ in function, appearance and application. Here are the main types of LED strips:
- wall lighting strips - mounted on the wall, they create effective accent lighting,
- ceiling moldings - placed on the ceiling at the wall junction, they create a delicate, diffused light,
- LED skirting boards - mounted in rooms at the bottom of the walls, just above the floor. They can be used as orientation lighting,
- corner strips - a type of strip that should be installed in the corners of rooms,
- waterproof strips - are an ideal solution for bathrooms, where they may be exposed to direct contact with moisture. Waterproof materials ensure safety of use.
The division of LED strips according to color type is as follows:
- white light color (2700-3000 K),
- white neutral light color (3500-4000 K),
- cold white light color (4500-6500 K),
Are flush-mounted or surface-mounted LED strips better?
 The choice between flush-mounted and surface-mounted LED strips depends on several factors, such as aesthetics, installation location and ease of mounting the LED strips.
Flush-mount LED strips are more discreet because they are built into the surface, making the LED strip almost invisible. They are worth choosing if you want aesthetic, elegant lighting and are willing to do a bit more complicated installation.
Surface-mounted LED strips are easier and faster to install, which can reduce installation costs. They allow easy access to the LED strips in case of replacement or repair. They are worth choosing if the priority is ease and speed of installation and flexibility in future changes.
How to mount LED strips on the ceiling?
LED strips on the ceiling are an elegant and modern addition to interiors, which is characterized by durability. Additionally, inserting LED strips into a specially designed ceiling lampshade is a perfect solution for creating lighting with a subtle effect of light dispersion. Step-by-step installation of the LED strip:
Step 1: Planning the LED strip installation
Carefully measure the length at which you plan to mount the strips. This will help you determine how much LED strip and profiles you will need.
Step 2: Preparing the LED strip for installation
- Cut the LED strip to the appropriate length if necessary.
- Connect the LED strip to the power supply according to the manufacturer's instructions.
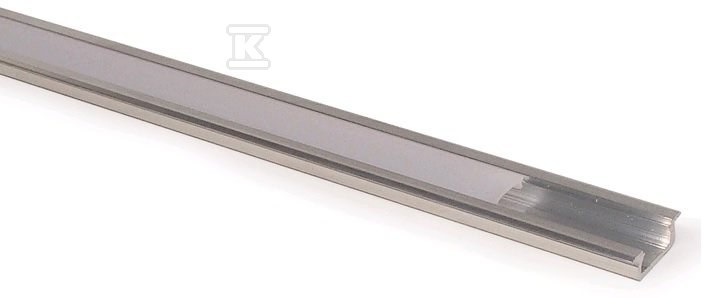
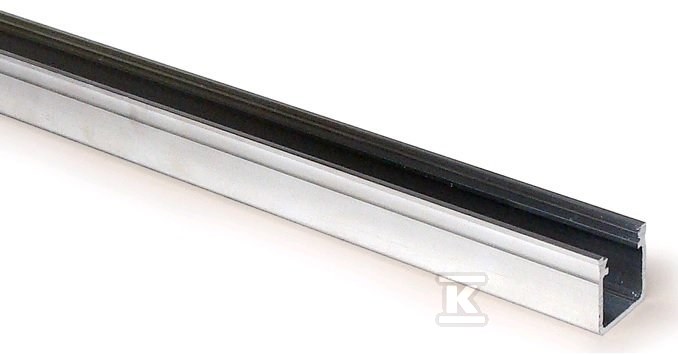
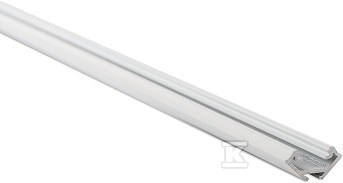
Step 3: Installing LED profiles (aluminum profile)
LED profiles are special accessories used for mounting LED strips, which not only protect the diodes against mechanical damage, but also facilitate heat dissipation and ensure the aesthetic design of the lighting installation.
- Mark the locations for the aluminum profile : Use a pencil and measuring tape to mark the locations where the LED aluminum profiles will be mounted.
- Drill the holes.
- Install the aluminium profiles : Screw the LED ceiling profiles (surface-mounted profiles) using screws and expansion bolts.
Step 4: Installing the LED strip in the strip
- If you did not use an aluminum LED profile, stick the LED strip directly to the ceiling or to previously installed profiles using double-sided adhesive tape or mounting glue.
- Connect the LED strip to the power supply.
- Turn on the power and make sure the LED strip is working properly.
What should I cut LED strips with?
LED strips can be easily cut to the required length using regular scissors or a utility knife. However, there are a few important things to remember. LED strips have designated cutting points, usually every 3 LEDs (for 12V strips) or every 6 diodes (for 24V strips). Cutting in other places can damage the strip.
Before cutting, disconnect the power supply to the LED strip to avoid short circuits or electric shock. It is best to use clean and sharp scissors or a knife, which will ensure a clean and even cut. After cutting the strip, put special caps on the end or secure the ends of the strip with electrical tape to avoid short circuits.
You can also use special tools such as a miter box or a trimmer to cut LED strips. A miter box allows for precise cutting of strips at an angle, and has a guide that makes cutting easier. A trimmer, in turn, is used to cut skirting boards at a 45 or 90 degree angle. Using these tools, you need to set the right angle and precisely place the strip against the guide. Cutting should only take place in designated places, usually every few LEDs. After cutting the LED strip, the ends should be secured with electrical tape.