If you want to heat your toilet, you need to make sure the heater is properly connected. Only in such a situation will the heating in your bathroom work properly. Check out our tips!

At what height should the radiator be installed in the bathroom?
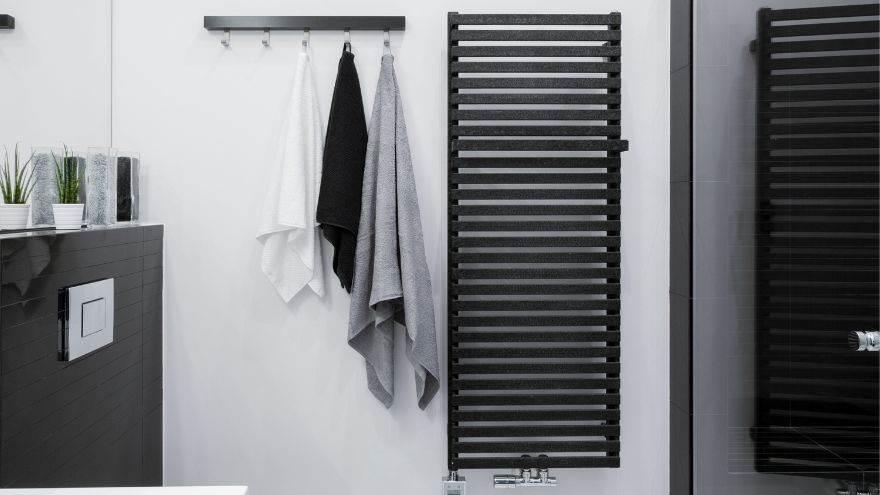
If so, the height at which it should be mounted bathroom radiator , the recommended range is approximately 80-160 centimeters from the floor. This solution will make it bathroom radiator will ensure optimal heating in the toilet, and at the same time it can be used to hang e.g. wet clothes, towels or cloths.
Check out bathroom radiators at the Onninen wholesaler
Of course, you also need to pay attention to the height of the users (this especially applies to larger radiators). Heating in the bathroom, it should be installed in such a way that household members can reach the switch or remove dust from the upper part of the device.
However, not only the height is important, but also - and we should not ignore it - the distance of the radiator from other elements of the bathroom equipment. First of all, we should avoid situations in which the radiator is located in the immediate vicinity of the washbasin or bathtub. This happens for several reasons:
- bathroom This is a place where it is easy to get damp, but places where water appears regularly include primarily sinks and bathtubs. If we do not want the radiator to be constantly exposed to water (and therefore, corrosion), we must ensure that the distance between them is at least several dozen centimeters,
- Chemicals used to care for ceramic surfaces, including washbasins or bathtubs, may damage the surface if they come into contact with the radiator.

How to connect a bathroom radiator?
If you have already determined at what height to mount bathroom radiator , another task awaits you - connecting the radiator . This task should be performed in the following order:
- determine the location of the radiator, remembering not to install this device in the immediate vicinity of a bathtub, shower cabin or washbasin (due to the risk of moisture or splashes),
- cut off the water supply by turning off the valves,
- place the radiator against the wall to determine where holes should be made in the wall. It is worth using a level,
- make holes using a drill and then drive/screw the dowels there,
- connect the radiator to the existing central heating (CO) installation. At this stage, it is necessary to connect the radiator to the supply pipe; thanks to it, it will be possible to supply hot heating water to the installation. (Bathroom radiator for installation is connected by screwing on the screw connection)
- turn on the water to see if the resulting connection is tight. If not, tighten the unions more tightly.
Of course, you must bear in mind that the detailed technical issues of connection may differ - sometimes significantly - depending on the radiator model.
How to bleed a bathroom radiator?
Bathroom radiators These are devices that are characterized by high quality of work and low failure rate. However, this does not change the fact that problems may arise during everyday use. These include, for example, aeration. This problem translates into a decrease in thermal efficiency because the air inside the radiator may disturb the water flow. How to bleed a bathroom radiator ?
You'll be happy to know that it's neither rocket science . All you need is a bit of patience to successfully bleed the radiator. If you want to do this, you need to do, among others: the following actions:
- close the radiator (by screwing on the head),
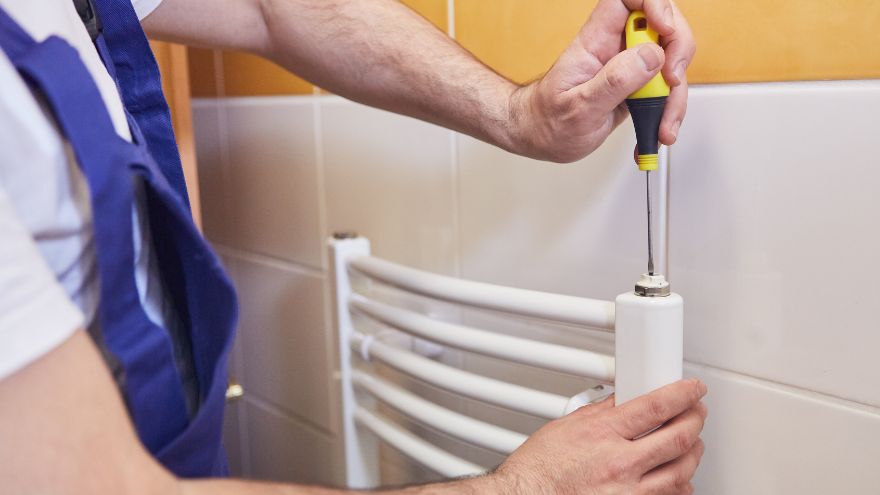
- move the air vent – this is a small element that is usually located at the top of the radiator (this is especially the case with panel models). Prepare a bowl or cloth in advance, as water may leak from the vent hole. If you open the vent evenly, without unnecessary haste, you will avoid a large stream of water that could splash the entire room. In a situation where the air vent is stuck (e.g. when this element has not been turned for a long time), you can use a wrench,
- observe carefully (and listen!) what comes out of the radiator pipe. If there is air in it, the air should first escape, which is usually accompanied by a loud, characteristic hissing sound. Only after a few moments will the water itself begin to come out. If this happens, you can tighten the bleeder screw,
- if you nevertheless observe that bathroom radiator still shows symptoms of air lock, repeat the entire operation again. Perhaps the problem is prosaic - not all the air was removed the first time.
As you can see, bleeding a bathroom radiator is not a particularly difficult task. The whole thing should take no more than a few or a dozen minutes.