The Wavin Tigris sanitary and heating installation system is a number of refined and tested products and solutions well known to every installer.

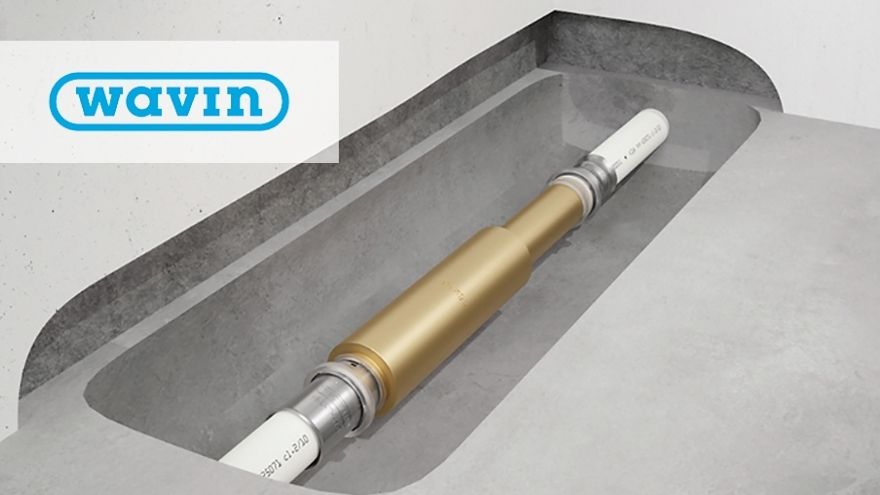
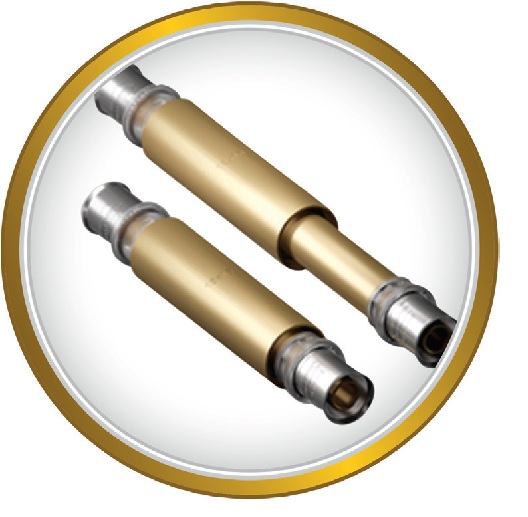
One year has passed since the launch of the new Tigris M5 fitting with the world's first patented Acoustic Leak Alert , i.e. an integrated acoustic leak detection system that easily allows installers to quickly check the entire installation and detect unpressed fittings during pressure tests performed with compressed air. They also have Wavin Tigris M5  OPTI FLOW , i.e. up to 50% larger hydraulic cross-section of the fitting - thanks to which the installation is even more efficient and reliable - as well as the Multi Jaw function, i.e. the ability to clamp with up to 5 types of jaws. However, Wavin Tigris M5 is not only about new functionalities of fittings and improved hydraulic parameters. The new type of fittings also means new solutions. One of the most interesting new features is the repair connector. It is used to repair damaged pipe installations as a result of, for example, drilling a pipe hidden in the wall or floor. So far, this type of damage was repaired using one or two straight fittings, but in hard-to-reach places their use was impossible. Now we have a new solution, thanks to which it is enough to cut out the damaged section of the pipe and replace it with a telescopic connector, which can be easily and very quickly used in installations with Tigris M5 fittings, as well as in older installations with Wavin pipes. The 16 mm and 20 mm repair connectors of the Tigris M5 system are now available for sale.

Check out Wavin Tigris connectors at the Onninen wholesaler!
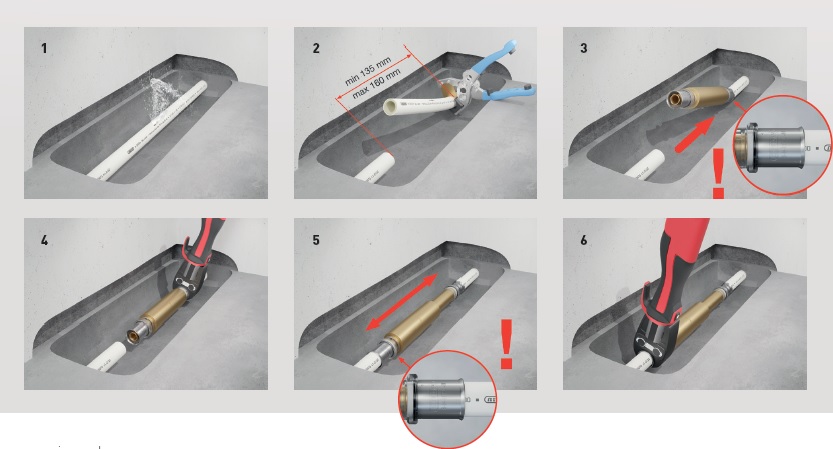
How to install a repair connector
 Expose the area around the leaking part if the pipe is covered with e.g. plaster or concrete.
- Cut out the damaged or leaking section of pipe. Pay attention to the minimum and maximum distance between both ends of the pipes to guarantee the security of the new connection.
• Minimum distance – 135 mm
• Maximum distance – 160 mm - Make sure the pipe surface is completely smooth and clean. Place one repair fitting sleeve on one of the free ends of the pipe. Check in the inspection window that the tube is correctly inserted. (IN4SURE™).
- Crimp the prepared connection.
- Pull out the free end of the repair fitting and slide the second sleeve onto the remaining free end of the pipe. Check in the inspection window that the tube is inserted correctly. (IN4SURE™).
- Crimp the prepared connection.
- After repairing the leak, perform a pressure test to verify that the fitting is properly installed.
