ResiTHERM® spacer mounting system 12mmx260mm stainless steel A4 + stainless steel A4, 2 pieces set. 9X160RTH122

Suggested products
TECHNICAL DATA
Sales unit dimensions and weight: 1 pkg
width/weight:0 m / 0,73 kg
Customs code:39259080
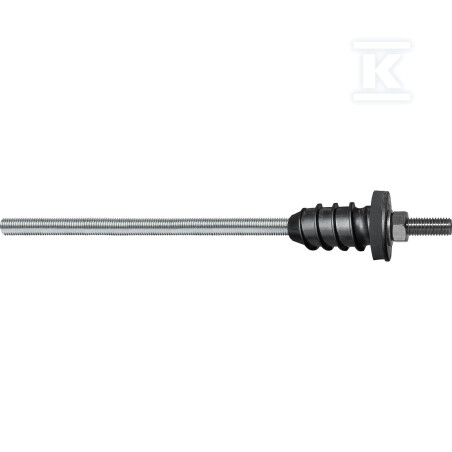
ResiTHERM® spacer mounting system 12mmx260mm stainless steel A4 + stainless steel A4, 2 pieces set. 9X160RTH122
Spacing system for mounting heavy elements on insulated facades
Product designed for quick and durable fixation of large loads (e.g., awnings, satellite antennas, air conditioners) within the thermal insulation layer. Thanks to the pre-installed EPDM seal and thermal separation element, it eliminates thermal bridges and protects against moisture – all in one compact construction meeting ETA requirements.
Key features and benefits
- Thermal separation – the black insulating module blocks heat flow, reducing energy losses and preventing mold formation.
- Weather resistance – grade 8.8 steel and A4 stainless steel components ensure corrosion protection, while the EPDM sealing withstands wind-driven rain at wind class 11 (in accordance with DIN EN 1027).
- Mounting flexibility – adjustable insertion depth of the M12 rod allows the system to adapt to insulation thicknesses from 60 mm to 220 mm (concrete), 190 mm (aerated concrete, solid brick), and 160 mm (perforated brick).
- Fast installation – all components are pre-assembled; after drilling the hole, simply insert the system, tighten it, and fill the hole with special injection mortar.
- Safety and certifications – the product holds ETA approval and has passed watertightness tests for wind-driven rain (DIN EN 12155), ensuring reliability under difficult conditions.
Applications and practical installation guidelines
- Typical mounting locations:
- awnings and canopies,
- French balconies,
- satellite antennas,
- air conditioning units,
- solar panels,
- structural elements on insulated facades.
- Base materials: concrete, aerated concrete, solid brick, perforated brick, and other construction materials with technical approvals.
- Installation steps (condensed):
- Drill a hole with a diameter of 14 mm or 20 mm depending on the selected configuration; adjust the depth according to the insulation thickness (80/110/140 mm + e).
- Clean the hole with a brush and blow out dust.
- Cut the M12 rod to the required length and install it in the prepared hole.
- Fill the hole with ResiFIX injection mortar to ensure stability and watertightness.
- Screw in the mounting system, tightening until full contact with the insulation surface is achieved.
Thanks to this design, installers save time and labor costs, while end users enjoy secure attachment of elements to the facade without the risk of thermal bridges or leaks.
CERTIFICATES, APPROVALS, SAFETY, COMPLIANCE AND WARNINGS
Attachments